Setting Up a Raspberry Pi for Remote Access
by Andre | August 14th, 2015 | Comments | Share
Tags : raspberrypi internetofthings remote duckdns
Computers are not as big as they used to be. The latest craze is credit card size computers that run a variety of languages from Android to various versions of Linux, and now including a version of Windows 10! The Raspberry Pi is one of many credit card sized computer boards available, and for about R550.00 is very affordable. Other makes are Arduino, Beaglebone, Intel and many more.
The Raspberry Pi and many of the other boards can be used to build interesting projects, like weather stations, security cameras with motion control and just about anything you need a computer to do. There are many boards that you can connect to the Raspberry Pi to connect it to sensors, motors and other external equipment.
Below is an introduction to setting up a Raspberry Pi, setting up a Synamic DNS account and connecting it all.
I purchased my Raspberry Pi from RS Components in Kayalami. You need the following parts:
| Part | Notes | Amazon | Banggood* | RS Components |
|---|---|---|---|---|
| Raspberry Pi 2 Model B | Quad Core CPU 900MHz | Buy Now | View | Part 832-6274 |
| Universal Power Supply | Any 2 Amp micro USB phone charger will also work. | Buy Now | View | Part 822-6373 |
| USB WiFi Dongle | Not all WiFi dongles work with the Pi | Buy Now | View | Part 760-3621 |
| Raspberry Pi 2 B Case | Real professional case for your Pi! | Buy Now | View | Part 819-3655 |
banggood's stock levels vary so might not be in stock.
You will also need a standard USB keyboard, USB mouse, monitor with HDMI input and an HDMI cable. The hard drive of the Raspberry Pi is an SD card. The older Raspberry Pi's used the standard SD card, but the new boards use the micro-SD card. I added stick on heat sinks to the Raspberry Pi to allow it to run cooler. I got a few from BangGood.
SD Cards
You will need at least an 8 Gb SD card, or larger. If you use a SD card larger than 32Gb, you need to format it 32Gb only, as the Raspberry Pi can only read FAT32 formated
SD cards. Once the Raspberry Pi starts, it will automatically increase the size it can use to the full SD card size. Cards of 64 Gb and larger are formatted using exFAT and
the Raspberry Pi can not read that format. I used the FAT32 Formatter program found Here.
Step 1 - Setup the SD Card
- Download the Noobs (not Noobs Lite) software from the Raspberry Pi website at https://www.raspberrypi.org/downloads/
- Extract it to a folder on a PC
- Format your SD card, making sure it is FAT32 format.
- Copy the downloaded programs onto the SD card. There is no need for any other special software to write the SD card.
- That is it!
Step 2 - Setup the Raspberry Pi
Connect the screen, keyboard, mouse and power to the Raspberry Pi. If you have an older Raspberry Pi with limited USB ports, you can use a USB hub to connect the equipment. An unpowered USB hub will connect a mouse, keyboard and WiFi adapter without the need of extra power. The Raspberry Pi should bootup and enter a setup screen. If you see a blank screen, and the two LED lights (red and orange) flash, then the problem is with the SD card.
Step 3 - Setup the Software
On the setup screen, tick the Raspbian option, and click Install. It will take a while to install the operating system and then the Raspberry Pi will reboot. Once it has completed the install, it will automatically load the Raspberry Pi configuration menu. Do the following setup steps:
- Choose
Note:
If you need to get back to the Setup Menu, type in raspi-config at the command prompt. If you need to load the windows enviroment, type in the command
startx at the command prompt.
Step 4 - Setup Dynamic DNS
Busy writing the rest...
-
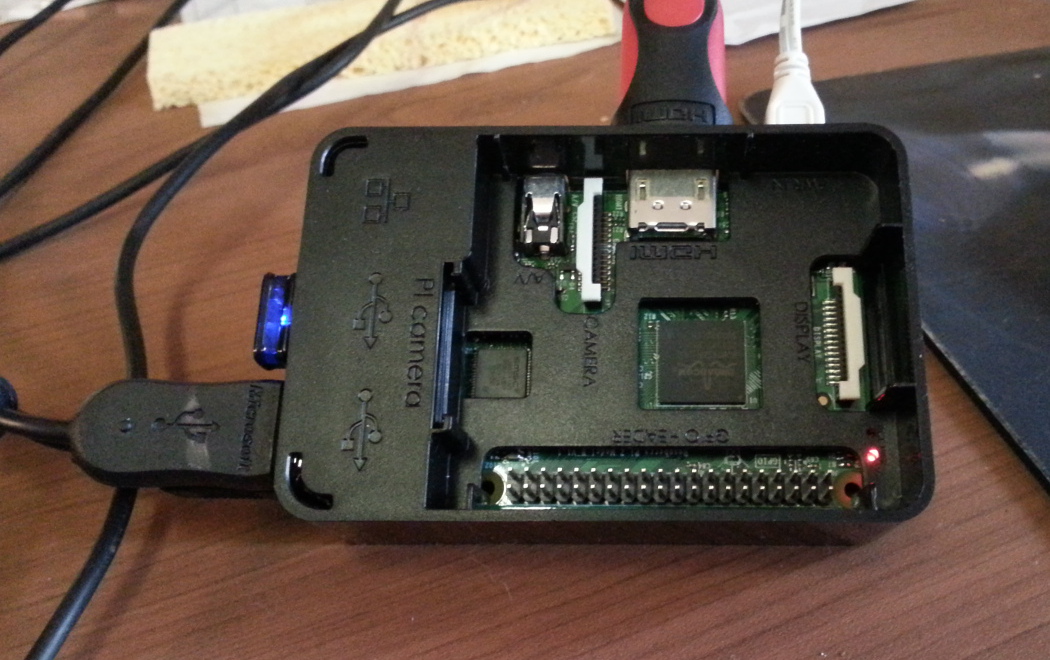
Raspberry Pi in Box
The Raspberry Pi in the black case connected to keyboard, mouse and screen.
-
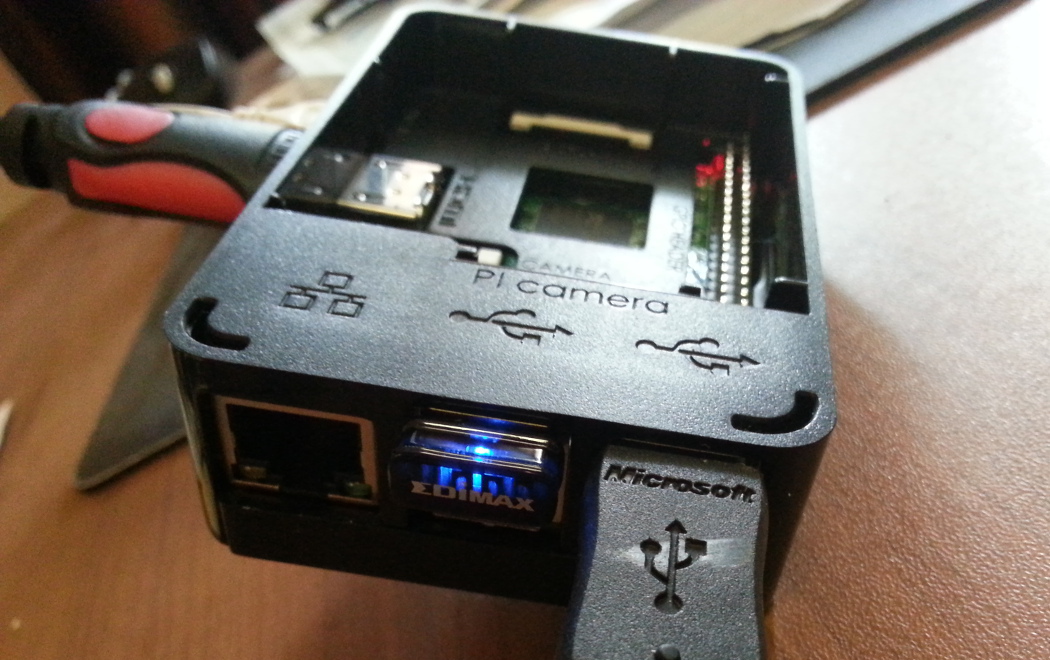
Raspberry Pi in Box
The WiFi dongle flashing data!
-
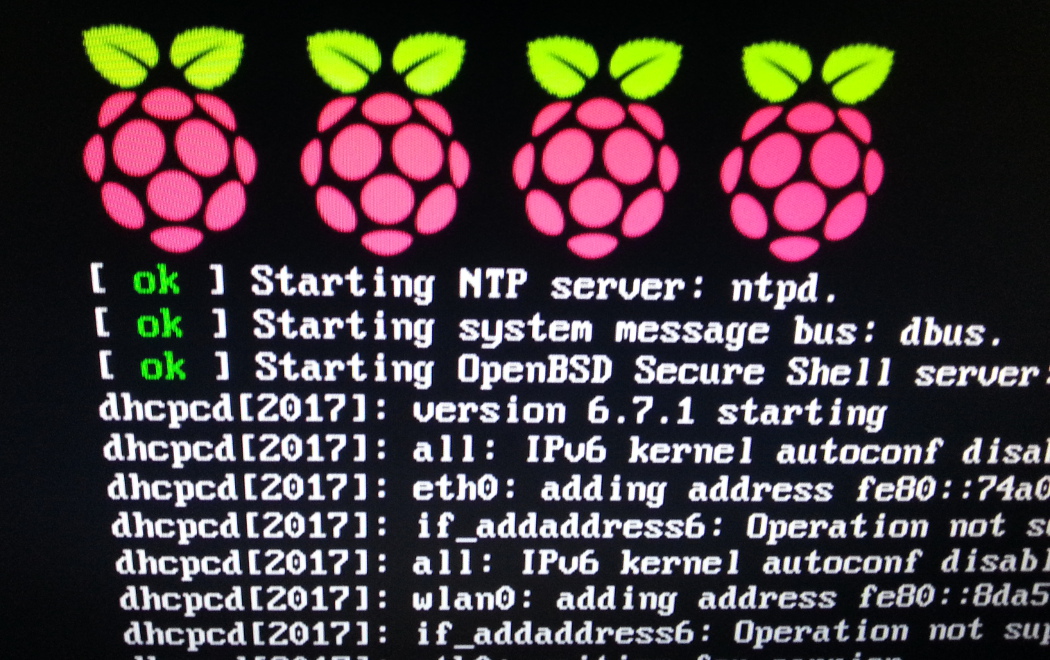
Quad Core Screen Logo
The four Raspberry Pi logos showing that 4 cores are working!
Useful Commands:
If you want to restart your Raspberry Pi, type sudo reboot at the command prompt. The Raspberry Pi will shut down properly and restart.
Conclusion
Playing with a Raspberry Pi is fun, easy and a great introduction to Linux computers. If you get stuck, there are many resource you can access and help is just a click away on the Raspberry Pi Forums. Once the Raspberry Pi has been setup for remote access, you do not need a screen, keyboard or mouse.
Useful Links
https://www.raspberrypi.org/
http://www.duckdns.org/
http://www.putty.org/